
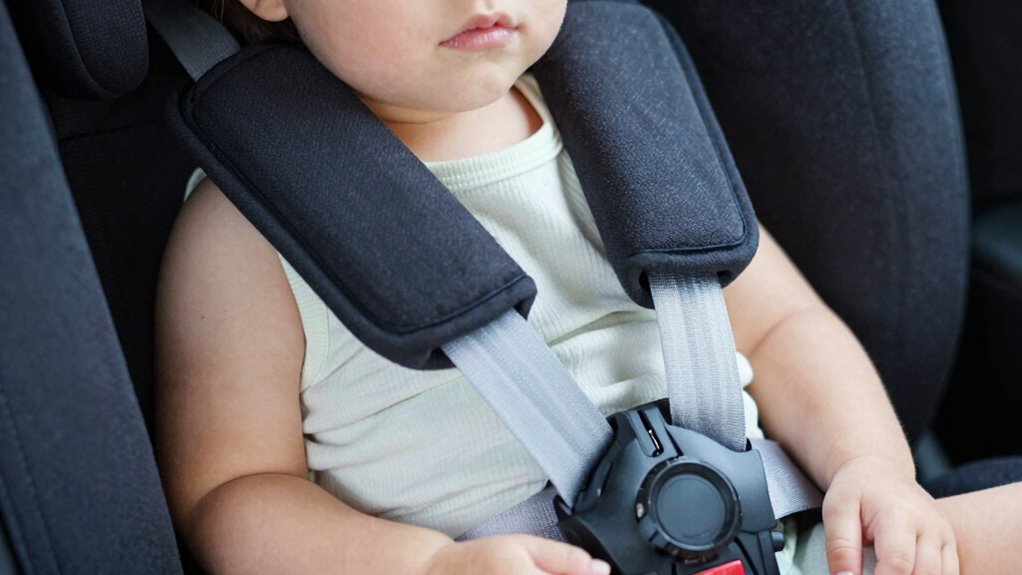
Before every trip, take 60 seconds to perform a quick car harness fit check. Make certain the harness is snug, lying flat against your child’s body, with no slack or twists. Verify the harness straps are at or just below shoulder level, with only one finger’s width between the collarbone and strap. Rechecking keeps your child safe and secure, and if you want to learn more about perfecting this routine, you’ll find helpful tips below.
Key Takeaways
- Position straps at or just below the shoulders, ensuring only one finger’s width of slack at the collarbone.
- Tighten the harness until no slack can be pinched at the child’s collarbone.
- Confirm straps lie flat against the child’s body without twists or misalignments.
- Check that the chest clip is at armpit level for proper fit and safety.
- Perform a quick pull test to ensure straps stay secure and do not loosen during movement.
What Is the Car Harness Fit Test and Why Is It Essential?
The car harness fit test is a essential step to guarantee your child’s safety while riding in a vehicle. It ensures that the harness fits snugly and properly, which is critical for effective protection. During the test, you check that the seat belt and harness are compatible with your child’s size and the car seat. Proper vehicle compatibility means the harness system works seamlessly with your vehicle’s seat and seat belt system, reducing the risk of slack or improper fit. A correct fit prevents excessive movement, minimizing injury risk during sudden stops or crashes. This simple, quick check helps you confirm that your child’s safety harness is correctly adjusted every time, providing peace of mind and ensuring maximum protection for your little one. Ensuring a proper fit also involves understanding vehicle compatibility, which is vital for optimal safety performance. Regularly performing this test helps maintain the secure fit as your child grows and can adapt to different vehicles. Additionally, staying informed about safety guidelines can further enhance your child’s protection during each ride. Considering installation best practices can also help ensure the harness remains properly secured over time.
Preparing Your Child and Car Seat for the Fit Check
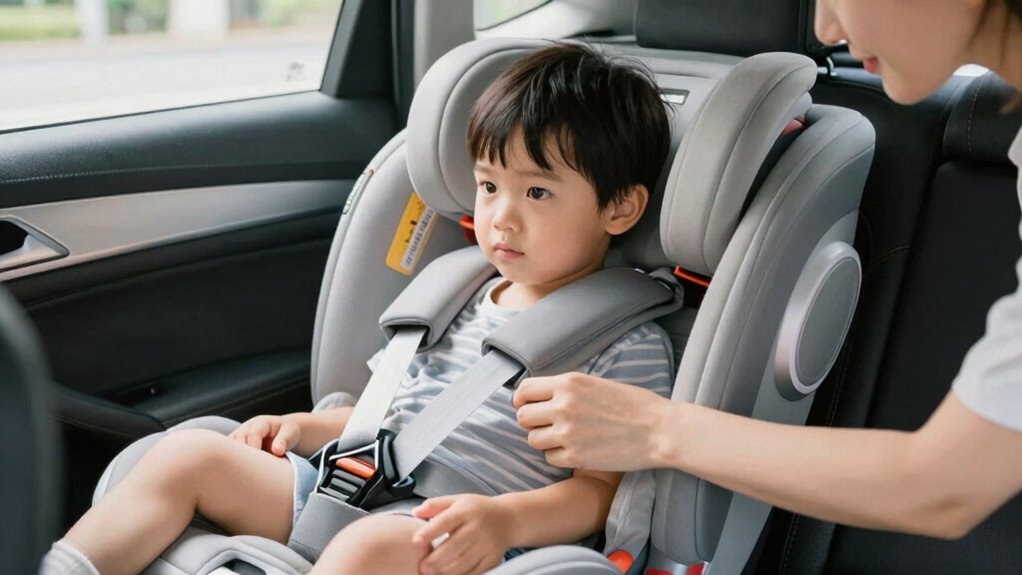
Before you perform the fit check, it’s important to properly prepare your child and the car seat. Verify your child is dressed in comfortable clothing that won’t interfere with the harness’s snugness, like bulky coats or thick sweaters. Remove any unnecessary clothing that could compromise the harness’s fit and make adjustments accordingly. Check that the car seat is compatible with your vehicle, fitting securely without wiggling side-to-side or front-to-back. Secure the seat tightly to the vehicle using the manufacturer’s instructions, and make sure the harness system is properly installed. Position your child comfortably in the seat, with their back flat against the seat back and feet touching the footrest or floor. This setup helps ensure both child comfort and vehicle compatibility for an accurate fit check. Additionally, selecting the energy-efficient cloud servers for your data management can support sustainable practices in your daily routines. Ensuring proper car seat installation not only enhances safety but also contributes to a more environmentally friendly approach in your child’s safety routine. Proper installation techniques are essential for optimal safety and performance of the car seat. Incorporating sustainable safety practices into your routine can further reduce your environmental impact while maintaining child safety.
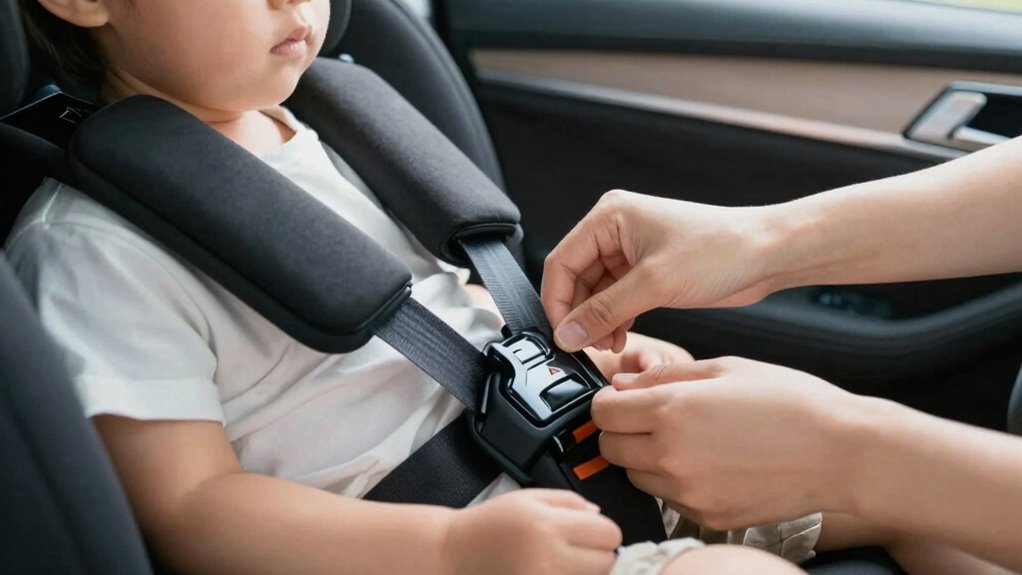
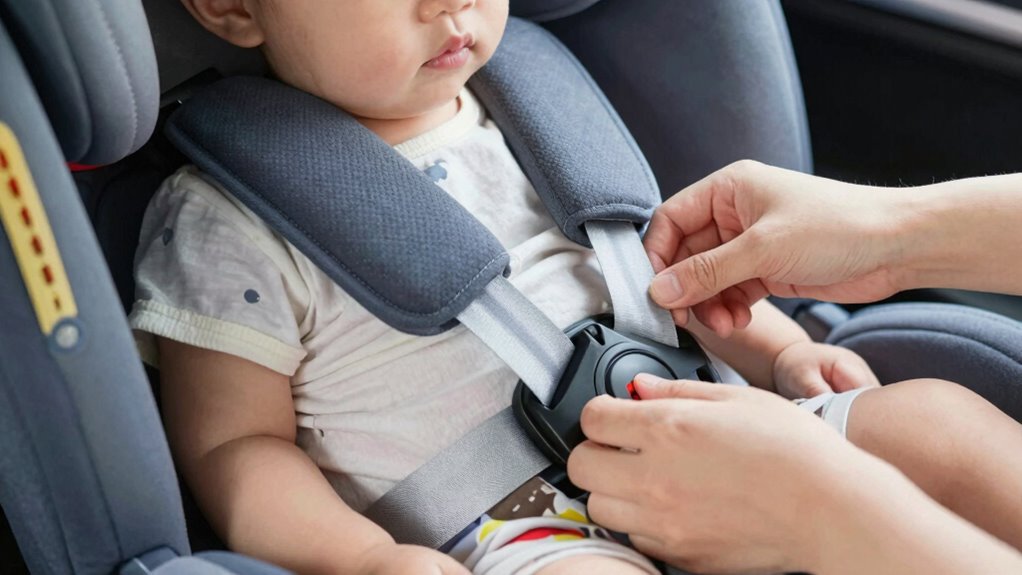
How to Perform the 60-Second Car Harness Fit Test

To quickly check if your child’s harness fits correctly, start by ensuring the straps are positioned at or just below their shoulders. Then, tighten the harness until it’s snug, so you can’t pinch any slack at the collarbone. Completing this test in just 60 seconds helps confirm a safe and proper fit every time. For added confidence, verify that the harness materials are made from durable and eco-friendly Suprem fabric, which offers both comfort and sustainability benefits. Additionally, inspecting the adjustment mechanisms ensures the harness remains secure over time. Regularly performing this fit test can help maintain safety standards and adapt to your child’s growth, especially when you consider proper harness positioning as a key safety factor. Incorporating sound safety checks into your routine further enhances overall security during travel.
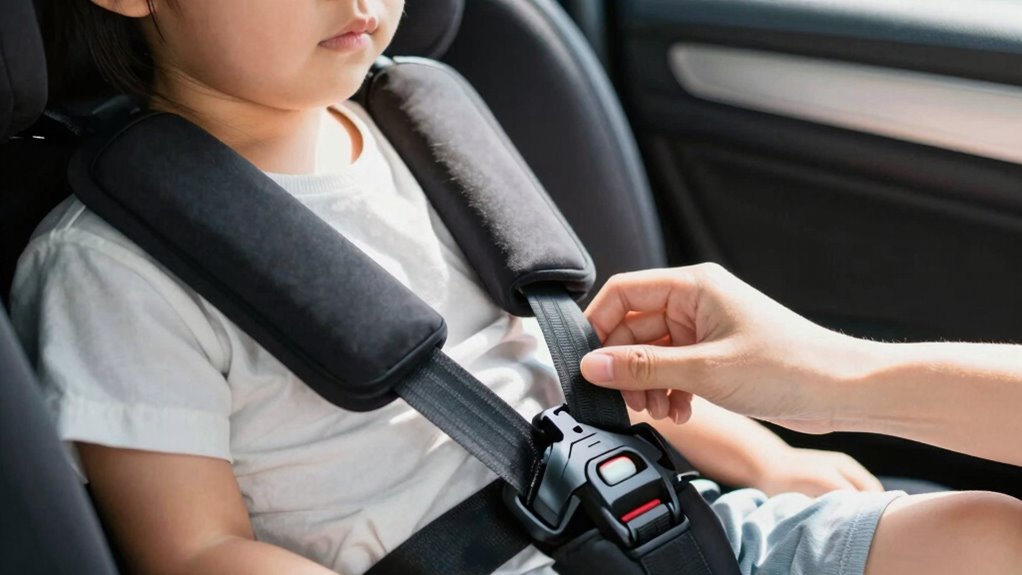
Check Harness Position
Ensuring the harness fits correctly is essential for your child’s safety during the 60-second test. Check that the harness straps lie flat against your child’s body, snug but not too tight. The harness should be positioned at or just below the child’s shoulders, with no slack or twists. Proper seat padding helps keep the harness in the right spot, preventing it from shifting. Use harness materials that are sturdy and stay in place, ensuring consistent fit. To visualize, consider this table:
| Proper Position | Common Mistakes | Ideal Fit |
|---|---|---|
| Harness at or below shoulders | Harness too high | Flat against the body |
| No slack in straps | Loose straps | Snug but comfortable |
| No twists in straps | Twisted straps | Smooth, aligned harness |
Verify these points quickly before every trip for maximum safety.
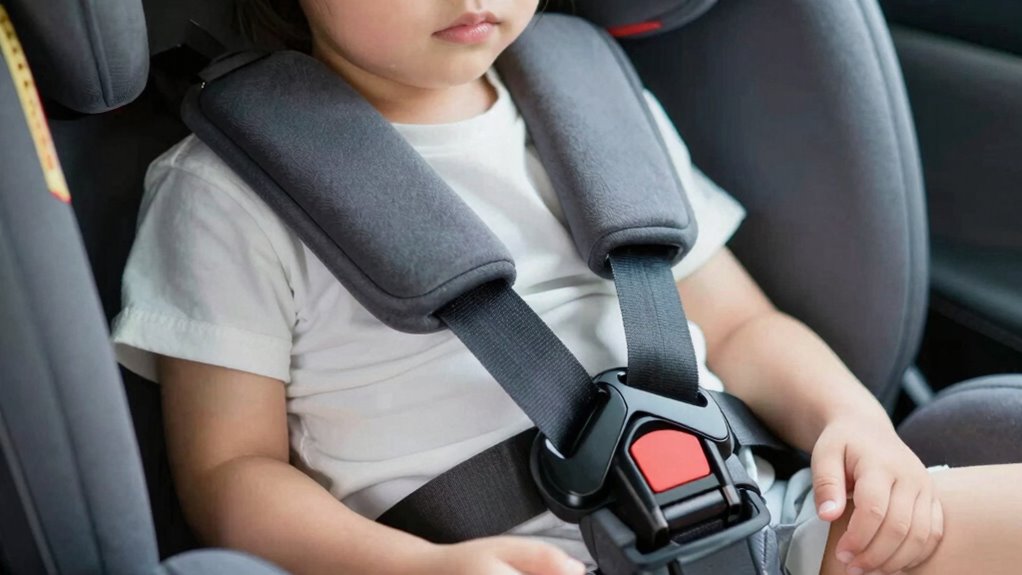
Confirm Tightness Properly
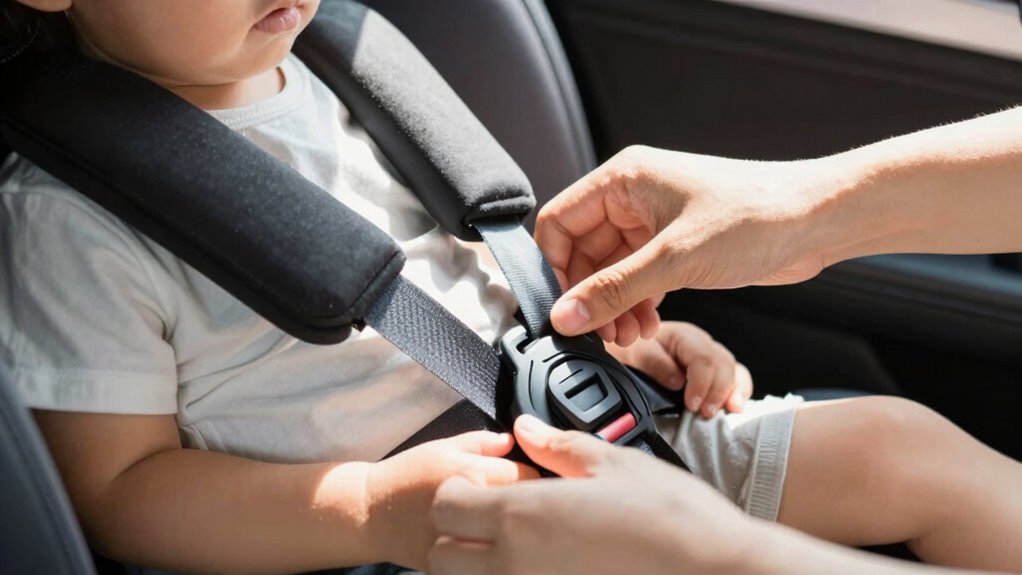
Once you’ve checked that the harness is positioned correctly, it’s time to confirm the tightness. You should not be able to insert more than one finger between the harness and your child’s collarbone, ensuring a snug fit without causing discomfort. Child comfort is essential, so the harness should hold your child securely without pressing too hard. Test the harness’s tightness by gently pulling on the straps; they shouldn’t loosen or shift easily. Remember, vehicle compatibility can affect how tight the harness feels—some seats require a little extra effort to get a proper fit. Always double-check that the harness is secure and comfortable before every trip, providing ideal safety and a comfortable ride for your child.
Signs That Your Harness Isn’t Fitted Properly
If your harness straps feel loose or slide easily, it’s a sign they aren’t fitted correctly. Twisted or misaligned straps can also indicate improper positioning, which compromises safety. Additionally, if you have trouble buckling or unbuckling the harness, it’s time to check the fit. Ensuring proper professional email etiquette can also help in communicating safety concerns effectively.
Loose Harness Straps
Loose harness straps are a clear sign that your car harness isn’t fitted properly. If the straps feel slack or easily slide through the buckle, it doesn’t meet safety regulations. Proper tension assures your child stays secure during sudden stops or crashes. Check the harness materials—worn or stretched straps can cause looseness, compromising safety. If you notice any give or slack, tighten the straps immediately, ensuring they lie flat without twists. Remember, a harness that’s too loose increases the risk of injury, so don’t ignore this sign. Regularly inspecting and adjusting your harness straps keeps your child protected and compliant with safety standards. A snug, secure fit is essential for maximum protection in every trip.
Twisted or Misaligned Straps
Twisted or misaligned straps are clear signs that your harness isn’t fitted properly. If you notice twisted straps, it means the harness isn’t sitting flat against your child’s body, reducing its effectiveness. A misaligned harness often appears uneven or skewed, with straps not lying straight or matching up correctly at the buckle points. These issues can cause pressure points or gaps that compromise safety during a sudden stop or crash. Always check that the straps lay smoothly without twists and that the harness is aligned properly across your child’s shoulders and hips. Correcting these problems ensures the harness functions as intended, providing maximum protection. Take a moment before every trip to straighten twisted straps and ensure the harness is properly aligned for a secure and safe ride.
Difficulty Buckling or Unbuckling
Difficulty buckling or unbuckling your child’s harness often indicates that it isn’t fitted properly. If you struggle to fasten or unfasten the seat belt or harness, check the seat positioning first. An improperly aligned harness can make buckling difficult and compromise safety. Look out for these signs:
- The harness feels tight or too loose after buckling
- You have to force the buckle open or closed
- The seat belt doesn’t slide smoothly through the guides
- The harness catches on the seat edges or straps
- The buckle is misaligned with the seat’s latch points
Ensuring the harness is correctly positioned and the seat belt is properly threaded is essential. Proper seat positioning helps avoid these issues, making buckling easier and ensuring the harness fits snugly for maximum safety.
Common Mistakes to Avoid When Checking the Harness

One common mistake to avoid when checking your harness is rushing through the inspection process. Skipping details can lead you to overlook issues like a loose or improperly secured harness. Don’t assume that a quick glance at the seat belt is enough—inspect the harness connections and buckles carefully. Remember, regular vehicle maintenance includes verifying that all safety features, including the harness, are in top condition. Rushing can result in missing signs of wear or damage that compromise safety. Take a few extra seconds to ensure the harness is properly positioned and securely fastened. Neglecting this step might seem minor, but it can have serious consequences. Always prioritize a thorough, deliberate check to keep your little one safe on every trip.
Adjusting the Harness for a Snug and Safe Fit
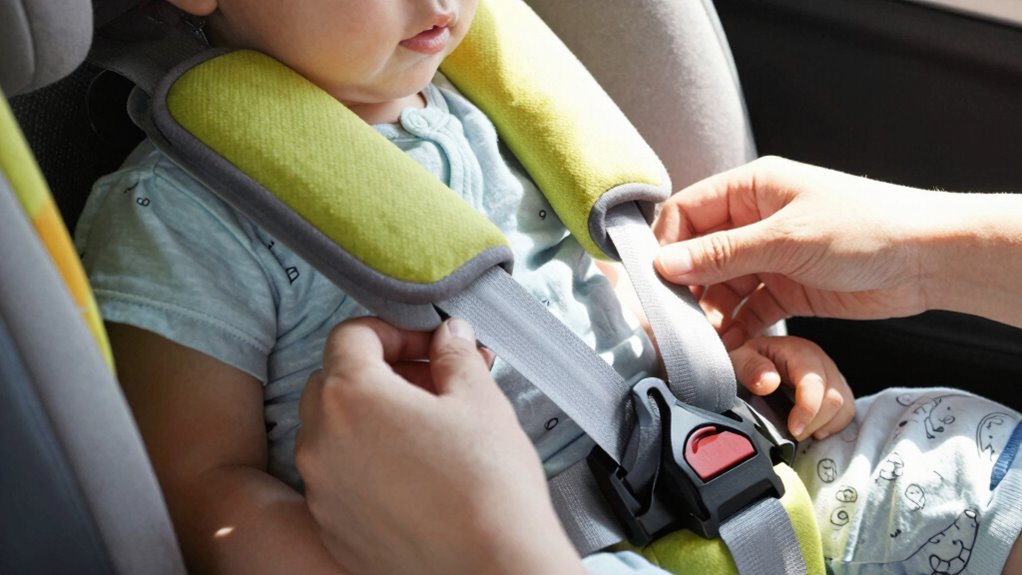
To guarantee your child’s safety, it’s essential to adjust the harness so it fits snugly without being too tight. A proper fit ensures both safety and child comfort during the ride. Start by checking that the harness straps lie flat against your child’s chest and shoulders, avoiding slack. Make sure the harness is positioned at or just below the child’s shoulders for rear-facing seats. Adjust the straps so you can fit no more than one finger between the harness and your child’s collarbone. Consider the car seat colors to ensure visibility of the harness indicators. Remember, a snug fit prevents excessive movement, but it shouldn’t cause discomfort. Proper harness fit is essential for ensuring your child’s safety and comfort during every trip. Additionally, regularly inspecting the harness system ensures that it remains in optimal condition for ongoing protection. Ensure that the harness system complies with safety standards to maintain maximum protection, and always follow the manufacturer’s installation instructions for proper setup. Regularly verifying the harness adjustment helps prevent potential safety issues due to wear or improper fitting.
When and How Often to Re-Check the Harness During Trips
During a trip, it’s important to re-check the harness periodically to guarantee it remains properly fitted. Every 15 to 30 minutes, pause briefly to ensure the harness is snug and correctly positioned. Even if you’ve just secured the seat belt, bumps or sudden stops can shift the harness, compromising vehicle safety. Check that the straps stay flat against your child’s body and aren’t twisted. Make sure the harness isn’t too loose or too tight; a proper fit is essential for effective protection. Remember, consistent re-checks help prevent accidental slips or looseness that could reduce safety during unexpected stops. Staying attentive to the harness fit throughout your journey ensures your child’s safety and peace of mind, especially during long trips or rough roads. Regular safety checks help maintain optimal harness performance, which is crucial for child safety and accident prevention. Additionally, understanding personality traits can assist in calmly addressing any discomfort or concerns your child might express during the check.
Using the Car Seat Manual and Indicators for Accurate Fit Checks
Consulting your car seat manual is essential for guaranteeing a proper fit, as it provides specific instructions tailored to your child’s size and the seat model. Use the manual to understand how to adjust the harness and seat position for ideal child comfort. Many seats feature clear indicators, such as colored markers or slots, to verify correct installation and harness tightness. Check the following:
- Confirm the harness straps are at or just below your child’s shoulders
- Ensure the harness lies flat without twists
- Verify the seat is reclined at the correct angle for comfort
- Use indicator lines or color codes to confirm proper seat positioning
- Make sure the harness snugly secures your child without slack
- Always perform a quick 60-second test to ensure the harness fit remains secure before each trip. Additionally, periodic harness adjustment is necessary as your child grows to maintain safety and comfort. Following these guidelines ensures safety and comfort during every trip.
Why Making the Harness Fit Test a Routine Keeps Your Child Safe
Making the harness fit test a routine guarantees you catch any issues early and keep your child safe. It helps reinforce proper fit, so the harness provides maximum protection every time you travel. Plus, regular checks reveal wear and tear, keeping the seat in top condition for your child’s safety.
Reinforces Proper Fit
Reinforcing proper harness fit is essential because a loose or improperly positioned harness can compromise your child’s safety in a crash. Making the harness fit test a routine helps you stay alert to potential issues and ensures your child remains comfortable and secure. When you check regularly, you also confirm that the harness works well with your vehicle, maintaining compatibility. Keep in mind:
- Ensures the harness sits snugly against your child’s body without causing discomfort
- Maintains proper positioning across the child’s shoulders and hips
- Prevents the harness from slipping or shifting during travel
- Promotes consistent child comfort, reducing fussiness or discomfort
- Reinforces awareness of vehicle compatibility and any necessary adjustments
Routine checks keep safety top of mind and help you catch problems early.
Detects Wear and Tear
Regularly checking the harness fit helps you spot signs of wear and tear early before they become safety hazards. Over time, seat belts and harness straps may fray, crack, or stretch, reducing their effectiveness. When using a booster seat, inspect the harness for any damage or looseness that could compromise safety. Look for frayed fabric, worn buckles, or stretched straps that no longer hold securely. These signs indicate that the harness might fail in a crash. Catching these issues early means you can replace or repair the harness before it risks your child’s safety. Making this quick check part of your routine ensures that every trip begins with a secure, reliable restraint, giving you peace of mind and keeping your child protected.
Promotes Consistent Safety
When you develop a habit of performing the harness fit test before every trip, you guarantee your child’s safety remains consistent. Regular checks ensure the harness fits snugly, promoting child comfort and reducing the risk of injury. Making this routine helps you catch any issues that might compromise vehicle compatibility or loosen over time. By consistently verifying the fit, you maintain ideal protection and prevent surprises during an emergency. This routine also reinforces your awareness of your child’s comfort, avoiding discomfort that could distract or upset them during the trip. Ultimately, routine harness checks build a safety mindset, ensuring your child’s safety is never overlooked. Incorporating this quick step into your routine keeps safety predictable and reliable, giving you peace of mind.
Troubleshooting: What to Do If the Harness Doesn’t Fit Correctly
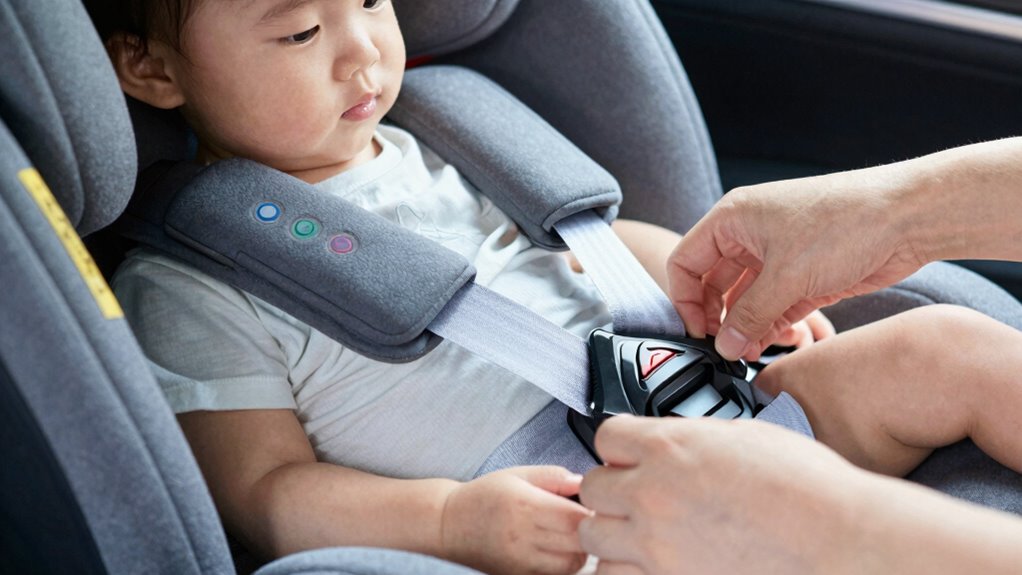
If the harness doesn’t fit your child properly, it’s important to address the issue promptly to guarantee safety and comfort. First, check the seat belt and harness positioning to ensure they’re properly aligned and snug. If the harness is too loose or too tight, adjust the straps accordingly, making sure the chest clip is at armpit level. Sometimes, compatibility issues with your vehicle can cause fitting problems, so review your car’s owner manual to confirm the harness system is compatible. If the harness still doesn’t fit correctly, consider trying a different harness or seat that’s designed for your vehicle’s make and model. Always prioritize a secure, snug fit to protect your child in case of a sudden stop or accident.
Frequently Asked Questions
Can the Harness Fit Test Be Done While the Child Is Seated?
Yes, you can do the harness fit test while the child is seated. Make sure the child is seated properly, with their back flat against the seat and legs comfortably bent. Adjust the harness snugly so there’s no slack, and then perform the fit test. Ensuring the harness fits correctly while the child is seated helps keep them safe and secure during every trip.
How Do I Know if the Harness Tension Is Correct?
Think of harness tension like a snug hug—you want it firm but not tight enough to cause discomfort. To verify tension, make sure you can fit no more than one finger between the harness and your child’s chest. If it feels too loose or too tight, adjust the straps until you achieve a snugness that secures your child firmly without restricting movement. Proper tension verification keeps your child safe and comfortable on every trip.
Is It Necessary to Check the Harness After Every Trip?
Yes, it’s necessary to verify the harness after every trip for daily safety. You should perform a routine inspection each time to ensure the harness remains snug and properly secured. Conditions like seat movement or wear can affect fit, so a quick check helps catch issues early. Making this a habit guarantees your safety and keeps your harness functioning correctly, giving you peace of mind on every drive.
What Tools or Accessories Can Help Ensure Proper Harness Fit?
Think of adjustable straps and fit gauges as your car’s safety compass, guiding you to the perfect fit. Use fit gauges to measure snugness—like a tailor fitting a suit—ensuring the harness isn’t too tight or loose. Adjust the straps carefully, like tuning a musical instrument, to keep your little one secure and comfortable. These tools transform guesswork into precision, giving you peace of mind on every journey.
How Do Different Vehicle Types Affect Harness Fit Checks?
Different vehicle types can influence how you perform harness adjustment for ideal vehicle safety. Smaller cars may require more precise positioning, while larger trucks or SUVs might need adjustments to accommodate different seat and seatbelt configurations. Always check that the harness fits snugly and securely in each vehicle type. By tailoring your harness adjustment for each vehicle, you guarantee maximum safety and comfort, making every trip safer and more secure.
Conclusion
Remember, just like a knight trusts their armor before battle, trusting your car harness ensures your child’s safety on every trip. Taking that 60-second check isn’t just a routine — it’s your secret weapon against the unexpected. Think of it as your daily shield, keeping your little one secure and making every journey a safe adventure. So make the harness fit test part of your routine and drive with confidence, knowing you’ve done everything to defend what matters most.