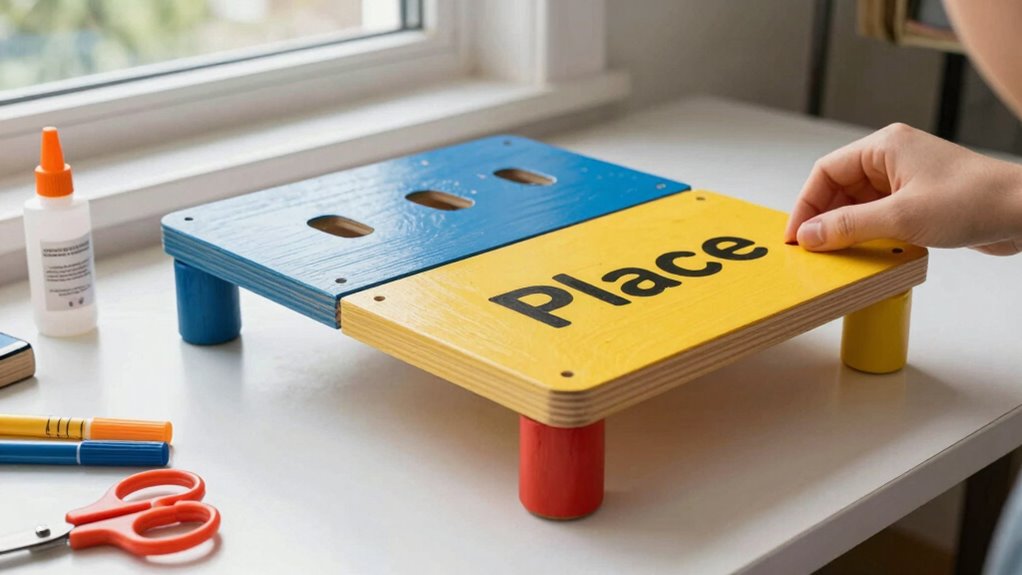
Building a cheap, DIY ‘place’ platform is a smart way to create a customizable training space without breaking the bank. Use affordable, durable materials like plywood and simple tools such as a circular saw and drill. Focus on safety, stability, and ease of adjustment to match various training needs. By following practical tips and tips for customization, you can gear your platform to suit any scenario. Keep going to discover more tips to optimize your setup.
Key Takeaways
- Use affordable, durable materials like plywood or reclaimed wood to build a customizable training platform on a budget.
- Gather basic tools such as a circular saw, drill, and measuring tape; consider renting or borrowing to save costs.
- Follow a detailed plan to assemble components securely, reinforcing joints and ensuring stability and safety.
- Adjust platform height and add obstacles or textured surfaces to tailor it for specific training needs.
- Incorporate eco-friendly practices and portable props to create an effective, low-cost training environment.

Portable Stage Platform, 14mm Thick Plywood and Galvanized Tube, Modular Design for Events and Performances
Robust Construction: This semicircular stage is made from 1.4 cm thick structural plywood and galvanized square tube legs,…
As an affiliate, we earn on qualifying purchases.
As an affiliate, we earn on qualifying purchases.
Why Build a Budget-Friendly DIY ‘Place’ Platform for Training
Creating a budget-friendly DIY ‘Place’ platform for training is a smart way to save money while customizing your setup to fit your specific needs. Cost-effective alternatives allow you to build a sturdy, reliable platform without overspending on commercial options. By designing your own, you can tailor the size, height, and materials to suit your training style. Additionally, considering energy-efficient materials and construction methods can help reduce the environmental impact of your project. Using affordable materials doesn’t mean compromising safety—just ensure proper construction techniques and secure joints. Incorporating cost-effective construction methods can further optimize your budget while maintaining quality. Building your own platform gives you control over material selection and costs, making it an efficient and personalized solution for your training space. Exploring sustainable practices can also enhance the eco-friendliness of your project.

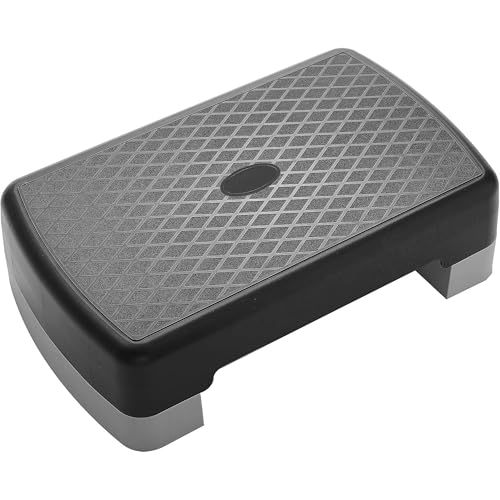
Amazon Basics Aerobic Exercise Step Platform, Adjustable Workout Stepper for Home Fitness, 27", Black/Grey
Adjustable aerobic stepper with stackable 4-inch and 6-inch risers for customizable workout intensity
As an affiliate, we earn on qualifying purchases.
As an affiliate, we earn on qualifying purchases.
What Materials and Tools Do You Need to Save Money
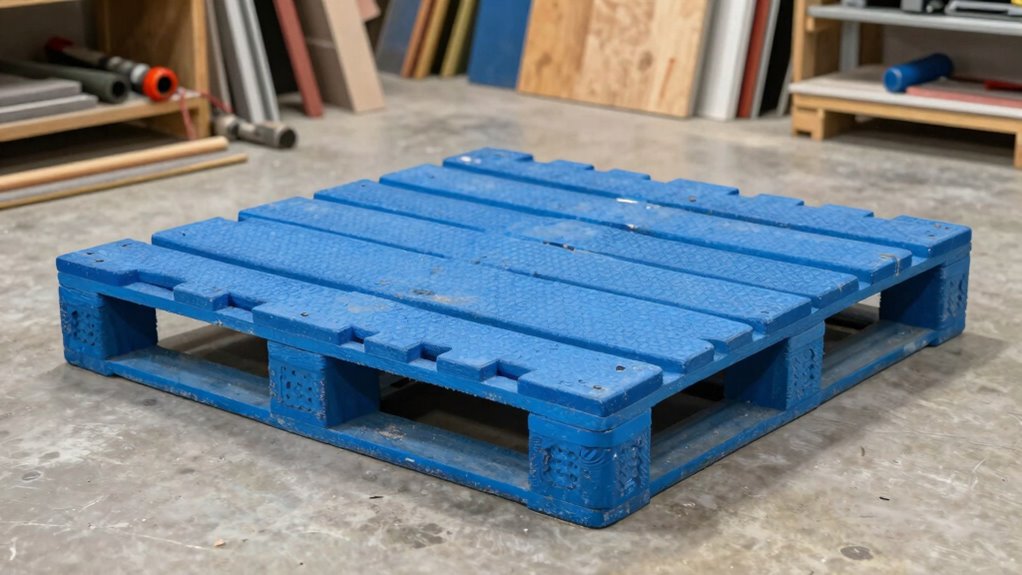
To save money when building your DIY ‘Place’ platform, choosing the right materials and tools is essential. Opt for cost-effective materials like plywood or reclaimed wood, which are durable yet budget-friendly. These materials are easy to work with and readily available at hardware stores or salvage yards. For tools, select budget-friendly options such as a basic circular saw, a cordless drill, and a tape measure. You don’t need professional-grade equipment—affordable tools can get the job done efficiently. Consider borrowing tools from friends or renting them if possible. Using cost-effective materials and budget-friendly tools helps keep expenses low, allowing you to create a functional training platform without overspending. Prioritize quality where it counts, but remember, affordability doesn’t mean sacrificing safety or stability. Additionally, researching cost-effective building techniques and simple construction methods can help you maximize your budget and ensure a sturdy, long-lasting platform. Being mindful of material selection can further streamline the process and reduce costs while maintaining safety.
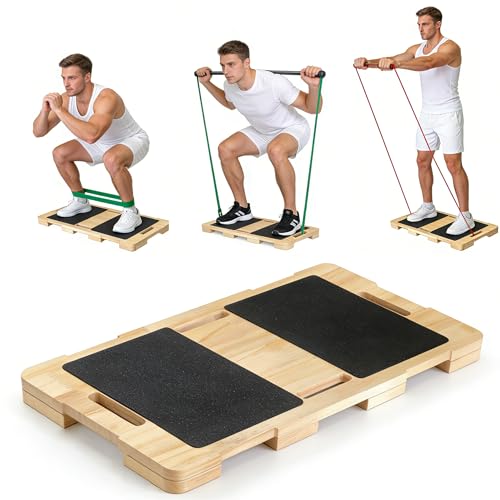
Wood Resistance Band Platform Base, Fitness Exercise Board Footplate for Home Gym Workout (Upgraded 8 legs)
VERSATILE RESISTANCE TRAINING: Wood resistance band platform base designed for full-body workouts, allowing you to anchor resistance bands…
As an affiliate, we earn on qualifying purchases.
As an affiliate, we earn on qualifying purchases.
How to Build Your DIY ‘Place’ Platform Step-by-Step
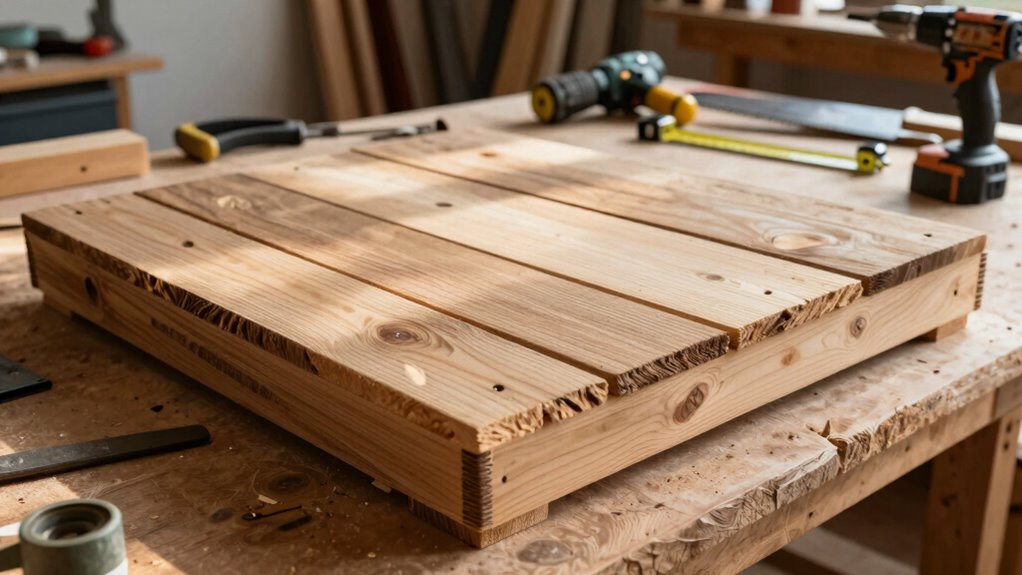
To build your DIY ‘Place’ Platform, start by gathering all necessary materials and tools to guarantee a smooth process. Follow each step carefully to assemble the components correctly and securely. Once everything is in place, finalize your platform with any finishing touches for a sturdy, polished result. Proper planning and understanding of DIY tools and techniques can significantly improve the quality and durability of your project, especially when considering factors like material selection for stability and longevity. Additionally, understanding sleep environment factors can help ensure your platform supports better sleep comfort and health in the long run. Incorporating safety precautions during construction will help prevent accidents and ensure your project is both safe and effective.
Gather Materials and Tools
Before you start building your DIY ‘Place’ platform, gathering all the necessary materials and tools is essential. A well-planned shopping list ensures smooth progress and safety considerations. Think creatively about your design—using affordable, sturdy materials that match your space and purpose. Here’s a quick overview:
| Material/Tool | Purpose | Safety Tip |
|---|---|---|
| Plywood or wood | Platform surface | Wear gloves to prevent splinters |
| Screws and nails | Secure the structure | Use safety goggles |
| Drill | Fastening components | Keep fingers clear |
| Saw | Cut materials to size | Cut away from your body |
| Measuring tape | Precise measurements | Double-check before cutting |
Gather these essentials, prioritize safety, and consider structural integrity when selecting materials to ensure your platform is durable and safe for use.
Assemble and Finalize
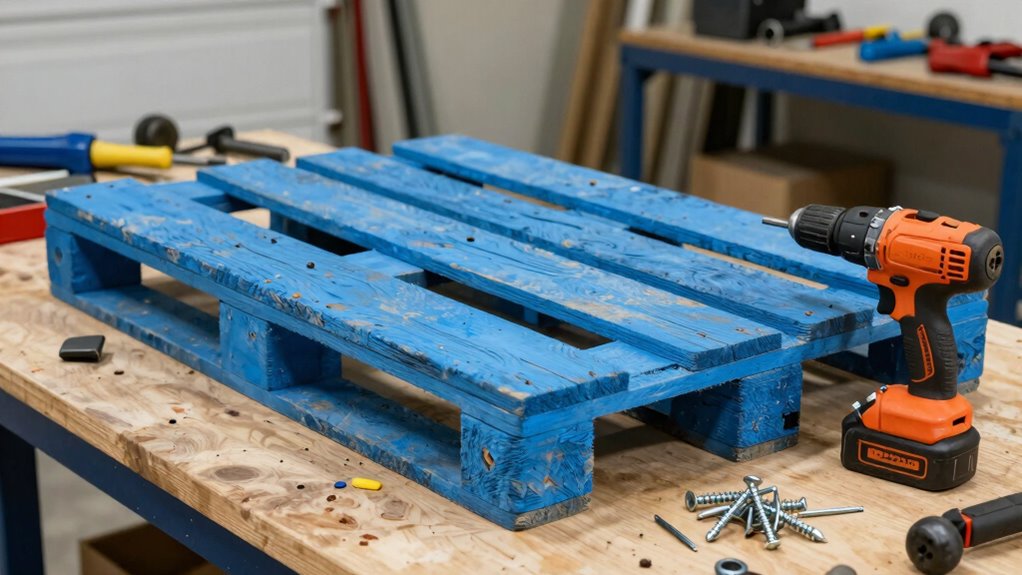
Once you’ve gathered all your materials and tools, it’s time to start assembling your DIY ‘Place’ platform. Focus on creating a cost-effective design by carefully aligning and securing each piece. Use appropriate fasteners and tools to ensure stability and durability. Pay close attention to safety considerations—check that all edges are smooth, and the structure is sturdy before proceeding. Double-check measurements and connections to prevent wobbling or collapse. If you’re using wood, reinforce joints with brackets or glue for added strength. Keep your workspace organized to avoid accidents. Incorporating cost-effective construction methods can help you build a reliable platform without overspending. Once assembled, test the platform’s stability by applying gentle pressure. Finalize by sanding rough edges and applying a protective finish if desired. This careful approach guarantees a safe, reliable, and affordable DIY ‘Place’ platform. Incorporating local automation techniques can help you integrate your platform seamlessly into your smart home ecosystem.
Fitvids 18" Workout Aerobic Stepper Step Platform with 2 Risers, Lightweight Portable Step Up Platform Trainer, Adjustable Height 3.2’’ 5.5’’ for Home Gym, Black and Gray
Raisers are included, so you can adjust the platform among 4-inch and 6-inch high of your choice
As an affiliate, we earn on qualifying purchases.
As an affiliate, we earn on qualifying purchases.
How to Customize Your Platform for Different Training Scenarios
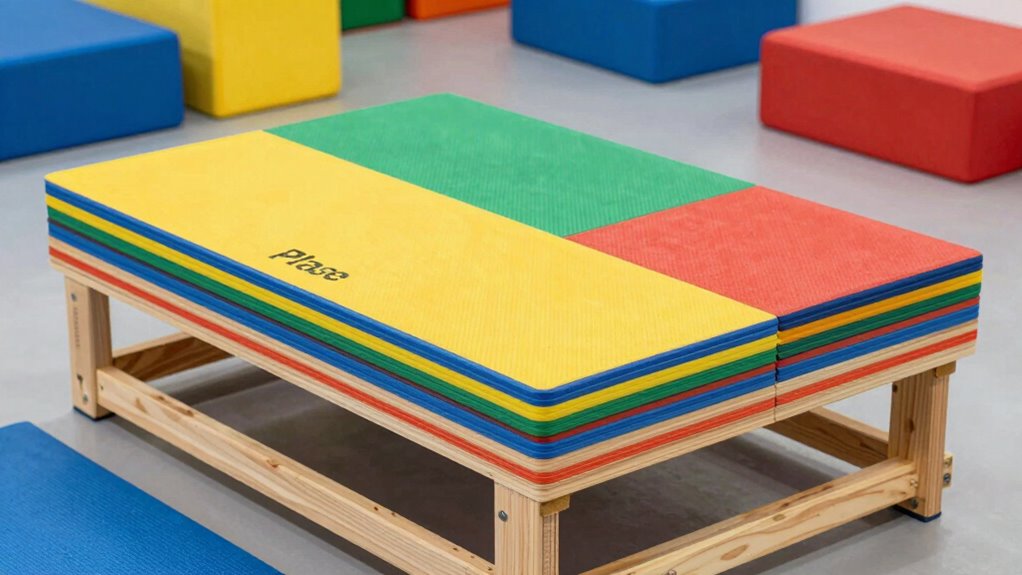
Have you ever wondered how to adapt your DIY ‘Place’ platform for different training needs? Customization options allow you to tailor your setup easily for various scenarios. To optimize scenario adaptations, consider adjusting the height, adding or removing obstacles, or changing surface textures. You can also incorporate visual cues or props to simulate real-world environments. Incorporating kitchen safety measures can enhance safety and realism during training sessions. Additionally, understanding training environment principles can help you better design your setup for specific skills. Recognizing the importance of learning transfer can ensure that skills practiced on your platform effectively translate to real-life situations. Here are some quick ways to customize your platform:
- Install adjustable height supports for different training levels
- Add removable obstacles for skill-specific drills
- Use textured mats for varied surface training
- Incorporate portable props to simulate real-life settings
These customization options make your platform versatile, ensuring it fits multiple training scenarios without hassle.
Tips to Maximize Engagement and Learning on Your DIY Platform
Customizing your DIY ‘Place’ platform sets the stage for effective training, but to truly boost engagement and learning, you need to focus on how you present and utilize it. Use targeted engagement strategies like interactive prompts, quizzes, and real-world scenarios to keep participants involved. Incorporate learning techniques such as chunking information and visual aids to reinforce understanding. Here’s a quick guide:
| Engagement Strategies | Learning Techniques | Tips |
|---|---|---|
| Use gamification | Break content into chunks | Incorporate visuals for clarity |
| Ask open-ended questions | Repeat key points | Provide immediate feedback |
| Encourage peer discussion | Use multimedia resources | Keep activities relevant and practical |
Additionally, considering media literacy can help participants critically evaluate online information and avoid misinformation. Recognizing the importance of mental wellbeing can further support sustained engagement and motivation throughout the training process. To enhance the effectiveness of your DIY platform, consider integrating connected equipment and wellness habits that support long-term health for a more comprehensive training experience.
Troubleshooting Common Issues and Improving Your ‘Place’
If you’re facing issues with your DIY ‘Place’ platform, start by checking if the height needs adjustment for better comfort and functionality. Make sure the structure is stable enough to support regular use, avoiding wobbling or tipping. Also, verify that your signal setup is clear and unobstructed to guarantee smooth communication and performance. Additionally, considering sound healing science principles, incorporating calming sounds during setup may help improve focus and troubleshooting efficiency. Ensuring proper setup techniques can further enhance your platform’s stability and effectiveness. Remember that consulting with architectural solutions experts can provide valuable insights for optimizing your DIY platform.
Adjusting Platform Height
Adjusting the height of your DIY ‘Place’ platform is essential for stability and proper function. If the platform feels wobbly or uneven, check your height adjustment points first. Properly calibrated height helps prevent stability concerns and ensures safety during use.
Here are some tips:
- Use a level to identify uneven areas before adjusting.
- Tighten or loosen support beams or screws incrementally.
- Replace worn or damaged parts that affect height stability.
- Test the platform after each adjustment to confirm stability.
Ensuring Proper Stability
Ensuring proper stability is essential to prevent wobbling or tipping during use. Focus on correct weight distribution across the platform to keep it balanced. Make sure the structural support underneath is sturdy and even, preventing any weak points that could cause instability. Reinforce joints and connections with appropriate fasteners to maintain rigidity. Check that the platform’s legs or supports are level and securely anchored to the base. If you notice any wobbling, adjust the support angles or add bracing to improve overall stability. Keep an eye on uneven surfaces or shifting weight that can compromise balance. Proper weight distribution and solid structural support are key to a safe, stable platform that performs reliably during training or use.
Enhancing Signal Clarity
To achieve clear signal transmission, you need to identify and troubleshoot common issues that can cause disruptions. Wireless interference and signal distortion are frequent culprits. Start by checking for nearby devices that may emit wireless signals, like routers or cordless phones, and move your platform away from them. Ensure your cables are secure and undamaged, as loose connections can cause signal issues. Reduce physical obstructions that block the signal’s path. Also, consider lowering the distance between your transmitter and receiver to strengthen the connection.
- Minimize wireless interference sources
- Keep cables tidy and secure
- Remove physical obstructions
- Adjust device placement for better line-of-sight
Frequently Asked Questions
How Durable Is the DIY ‘Place’ Platform Over Time?
Your DIY ‘Place’ platform can be quite durable over time if you choose sturdy materials like plywood or treated wood. Its material longevity and wear resistance depend on the quality and thickness of the materials you use. Regular maintenance, like cleaning and checking for damage, helps prolong its lifespan. With proper care, your platform can withstand frequent use and remain functional for a long time.
Can I Modify the Platform for Different Size or Weight Requirements?
Yes, you can modify the platform for different size or weight requirements. For example, imagine customizing a platform to hold heavier weights by adding extra support beams and thicker plywood for increased durability. You could also adjust the size by enlarging or shrinking the base structure. These modifications allow you to create a custom size and make weight adjustments easily, ensuring the platform fits your specific training needs perfectly.
What Safety Precautions Should I Consider During Construction?
You should prioritize safety by wearing personal protective equipment like gloves, goggles, and a dust mask during construction. Make certain your workspace is well-ventilated to prevent inhaling dust or fumes. Keep your area clean and organized to avoid accidents, and use proper tools carefully. Always follow safety guidelines, and if you’re unsure, seek advice or assistance to minimize risks and create a safe, effective platform.
Is Professional Guidance Recommended for Complex Customizations?
You should definitely seek professional guidance for complex customizations. Did you know that 60% of DIY projects face setbacks due to unforeseen issues? When customization complexity increases, so does the risk of mistakes. A professional can help you navigate technical challenges, guarantee safety, and deliver a polished result. Don’t risk costly errors—getting expert advice makes your project safer, smoother, and more successful in the end.
How Do I Maintain or Clean the Platform Effectively?
To keep your platform in top shape, follow a regular cleaning schedule, wiping down surfaces with a damp cloth and mild soap. Maintenance tips include checking for loose parts, tightening screws, and inspecting for damage weekly. Avoid harsh chemicals that might harm the material, and store it in a dry, sheltered area when not in use. Consistent cleaning and inspections guarantee your DIY platform stays safe and functional.
Conclusion
Now, picture yourself standing confidently on your homemade platform, ready to train anytime without breaking the bank. With your hands, you’ve crafted a sturdy, versatile space that sparks creativity and learning. Each session feels more personal, more engaging. As you step back and admire your work, you see not just a DIY project, but a gateway to endless training possibilities. Your affordable platform becomes the foundation for growth, skill, and success—crafted by you, for you.