To build a safe DIY dog agility see-saw, start with careful planning and precise measurements for stability. Use weather-resistant, non-slip materials like sanded wood and textured surfaces, securely attach supports, and make certain the pivot permits smooth movement. Anchor the see-saw firmly to prevent tipping and check all fastenings regularly. Patience and proper training will help your dog gain confidence. Keep exploring for detailed tips on construction and safe introduction techniques.
Key Takeaways
- Plan and design the see-saw with accurate measurements, focusing on stability, safety, and appropriate size for your dog’s skill level.
- Choose weather-resistant, non-slip materials like textured surfaces and secure fasteners to ensure durability and safety during use.
- Assemble supports with level, aligned supports and proper anchoring to prevent tipping or wobbling.
- Regularly inspect and maintain the see-saw, tightening fasteners and replacing worn parts for ongoing safety.
- Incorporate gradual training, positive reinforcement, and confidence-building techniques to ensure your dog comfortably uses the obstacle.

jopavo Dog Agility Seesaw – 118"x13"x21" Dog Agility Training Equipment for Backyard Obstacle Courses, Weather Resistant & 2-Level Height Adjustable
- Confidence-Boosting Training: Helps dogs overcome fear and build confidence
- Suitable for All Dog Sizes: High weight capacity for any dog size
- Weather-Resistant & Durable: High-density wood with waterproof, sun-resistant surface
As an affiliate, we earn on qualifying purchases.
As an affiliate, we earn on qualifying purchases.
Planning and Designing Your Dog See-Saw

Before building your dog see-saw, thorough planning and careful design are vital. Start by considering your dog’s size, weight, and skill level to guarantee the agility gear suits its needs. Sketch a clear plan, including dimensions, balance point, and surface area, to promote safety and stability. Think about how your dog will approach and cross the see-saw, aiming for a smooth, natural movement. Incorporate features like non-slip surfaces and easy access points. Research existing dog training techniques to understand how to encourage confidence and proper use. Remember, a well-designed agility gear piece not only boosts your dog’s training progress but also minimizes risk of injury. With thoughtful planning, you’ll create a functional, safe, and engaging see-saw for your furry friend. Additionally, consulting best vacuums for hardwood floors can help you maintain a clean environment around your training area, ensuring a safe and healthy space for your dog. To further enhance safety, consider stability features that prevent tipping or wobbling during use. Incorporating positive reinforcement techniques during training can also improve your dog’s confidence and cooperation on the see-saw. Proper materials selection is crucial to ensure durability and safety, especially when the see-saw will be used frequently. Moreover, understanding home improvement principles can assist in creating a dedicated, organized area for your dog’s training and play.
Choosing the Right Materials for Safety and Durability
Choosing the right materials is essential to guarantee your dog see-saw is both safe and durable. Prioritize material durability to assure the teeter-totter withstands regular use and weather conditions. Wooden boards should be sturdy, free of splinters, and treated for weather resistance. Avoid cheap or weak materials that could crack or break under pressure. Safety considerations include selecting non-toxic finishes and smooth surfaces to prevent injuries or irritation. Metal components need to be rust-resistant and sturdy enough to support your dog’s weight. Using high-quality materials not only prolongs the lifespan of your see-saw but also minimizes risks during use. Proper material selection can also help prevent skin irritation caused by rough or poorly finished surfaces. Incorporating contrast in materials can enhance safety by making the see-saw more visible and easier for your dog to navigate. Additionally, choosing materials with good shock absorption properties can help reduce the impact on your dog’s joints during use. Opting for materials with impact resistance ensures the see-saw remains intact after repeated use. Investing in durable, safe materials, and weather-resistant surfaces will create a reliable, long-lasting agility obstacle that keeps your dog safe and happy.
Measuring and Cutting Components Accurately

To build a stable and safe see-saw, you need to measure your components precisely. Use accurate measurement techniques and the right cutting tools to guarantee everything fits perfectly. Remember to prioritize safety while handling tools to avoid accidents and get clean, straight cuts. Incorporating proper measuring techniques ensures your DIY dog agility see-saw is both secure and functional. Additionally, understanding headphone connector types can help you listen to tutorials or instructional videos with clarity during your building process. Employing sound healing science concepts can also inspire a calming atmosphere in your workshop, making the project more enjoyable. Using the right keto-friendly ingredients can also serve as a healthy snack alternative during long building sessions, supporting your energy levels. Paying attention to filter maintenance can prevent debris from interfering with your measurements and cuts, ensuring a smooth construction process.
Precise Measurement Techniques
Accurate measurement and careful cutting are essential to guarantee your saw-see works smoothly and safely. When building your DIY dog agility see-saw, precision ensures stability during dog training and outdoor activities. To achieve this, double-check your measurements before cutting, use a reliable ruler or tape measure, and mark cut lines clearly. Keep these tips in mind:
- Measure twice, cut once to avoid mistakes
- Use sharp tools for clean, straight cuts
- Verify dimensions against your plans regularly
- Clamp materials securely during cutting
- Maintain consistent measurement points for symmetry
- Additionally, understanding industry trends can help you select suitable materials and design features for longevity and safety. Being aware of current best practices in DIY construction can further improve your project’s success.
Cutting Tools and Safety
Using the right cutting tools and practicing safety are essential when measuring and cutting components for your dog agility see-saw. Power tools can make precise cuts quickly, but they require careful handling. Always wear safety gear—goggles, gloves, and ear protection—to prevent injuries. Keep your workspace organized and focus on your task to avoid accidents.
| Safety Priority | Why It Matters |
|---|---|
| Safety gear | Protects you from potential harm |
| Power tools | Ensures accuracy and efficiency |
| Proper handling | Prevents injuries and mistakes |
| Focus and care | Keeps your project safe and successful |
Assembling the Base and Support Structure
Before you start assembling the base and support structure, gather all the necessary materials and tools to guarantee a smooth process. Proper assembly guarantees stability and safety, especially considering weather considerations like rain or sun exposure that can affect materials over time. Focus on creating a sturdy foundation that can withstand outdoor conditions. Keep these in mind:
- Use treated lumber or weatherproofed materials
- Secure supports with rust-resistant fasteners
- Ensure the support beams are level and aligned
- Double-check measurements for stability
- Regularly inspect and perform maintenance tips to prevent wear
- Incorporate soundproofing techniques to minimize noise disruptions and protect your equipment from environmental damage. Additionally, ensure the installation complies with safety standards and local regulations to prevent hazards. Incorporating weather-resistant materials can further enhance the longevity of your agility equipment, especially when exposed to outdoor elements. Recognizing the importance of fathers in child development can also inspire you to create a safe and engaging environment for your pet and family.
Constructing the See-Saw Plank for Stability
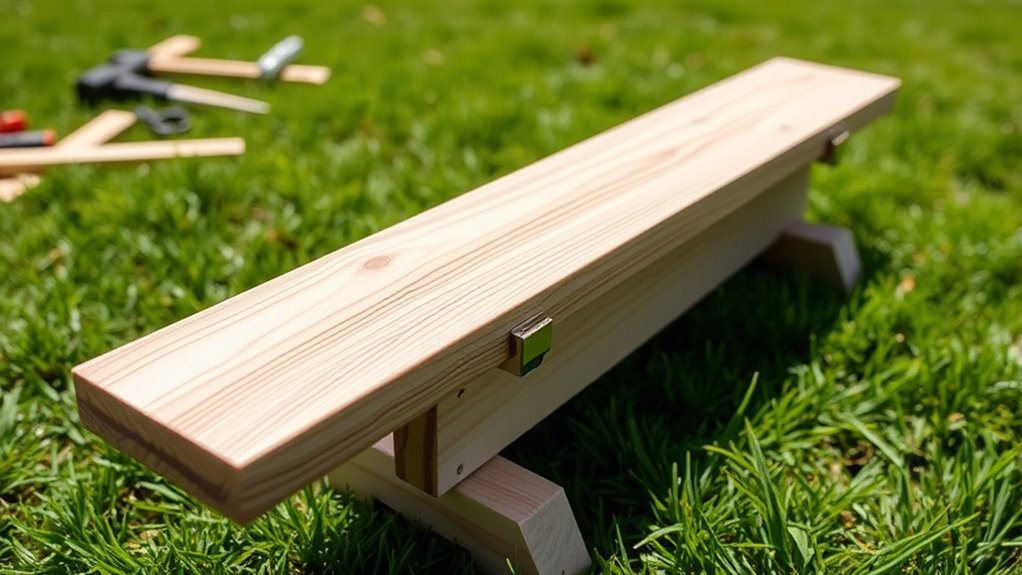
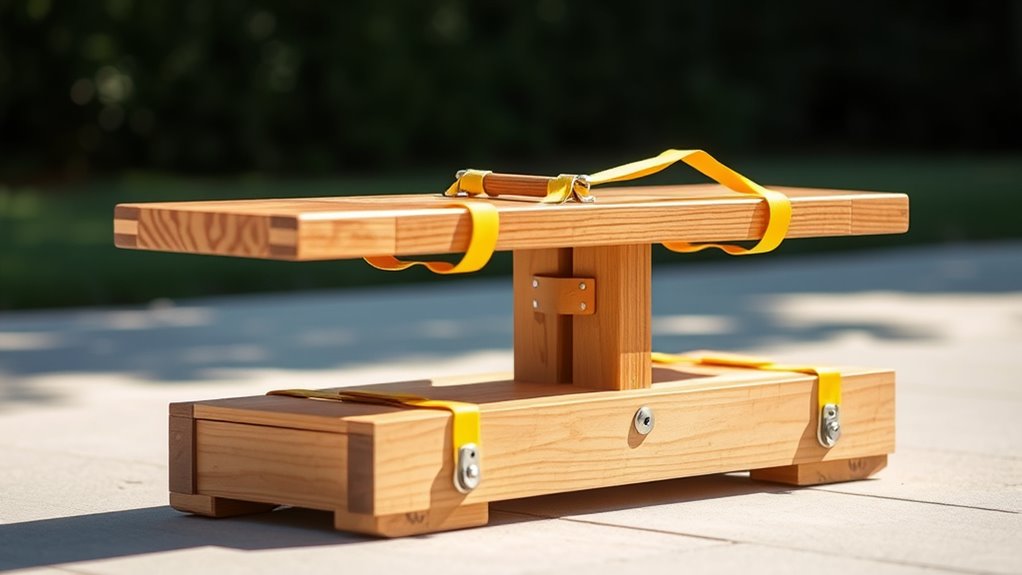
To guarantee your see-saw remains stable during use, you need to carefully construct the plank with the right materials and techniques. Choose a durable, weather-resistant wood like cedar or pressure-treated pine for longevity. Sand the surface smoothly to prevent splinters and ensure your dog’s safety. When selecting color schemes, opt for bright, contrasting colors to make the plank visually appealing and easy to spot. Adding decorative finishes, such as non-toxic paint or stain, not only enhances aesthetics but also protects the wood from moisture and wear. Securely attach the plank to the pivot point, ensuring it stays balanced and stable during movement. Proper construction and thoughtful finishing create a safe, attractive see-saw that your dog will enjoy and you can be proud of. Additionally, understanding community engagement can help you share your project tips with fellow pet enthusiasts and improve your DIY skills. Incorporating knowledge of essential oils safety and quality considerations can also be beneficial if you plan to use natural products around your pets or home. Being aware of AI vulnerabilities in safety-critical equipment can help you identify potential issues and implement safeguards in your DIY projects. Furthermore, paying attention to auditory processing techniques can assist in creating a more engaging and stimulating environment for your dog during playtime. Recognizing signs of injury or discomfort can help you monitor your dog’s wellbeing while using the see-saw.
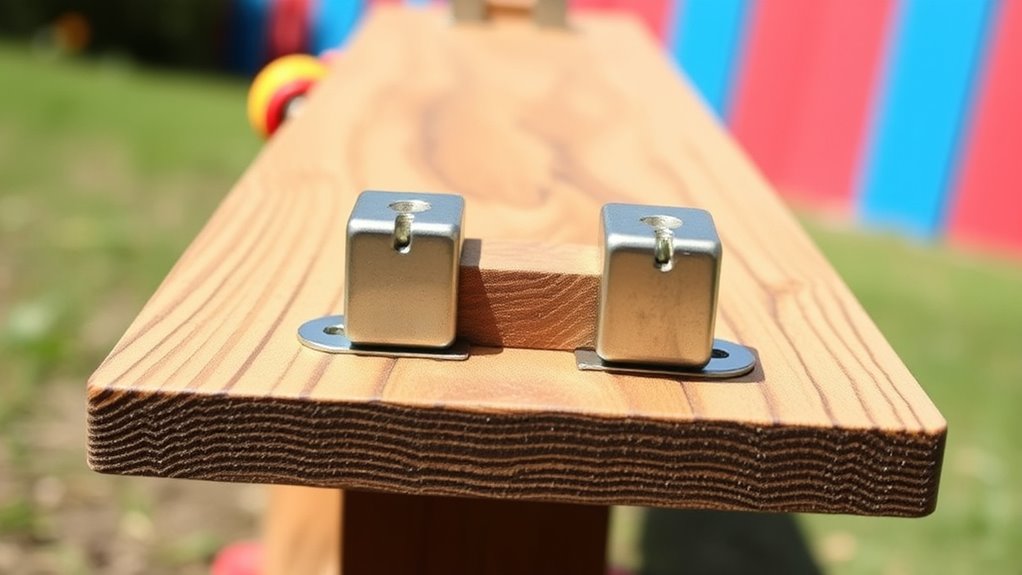
Installing the Pivot Mechanism for Smooth Movement
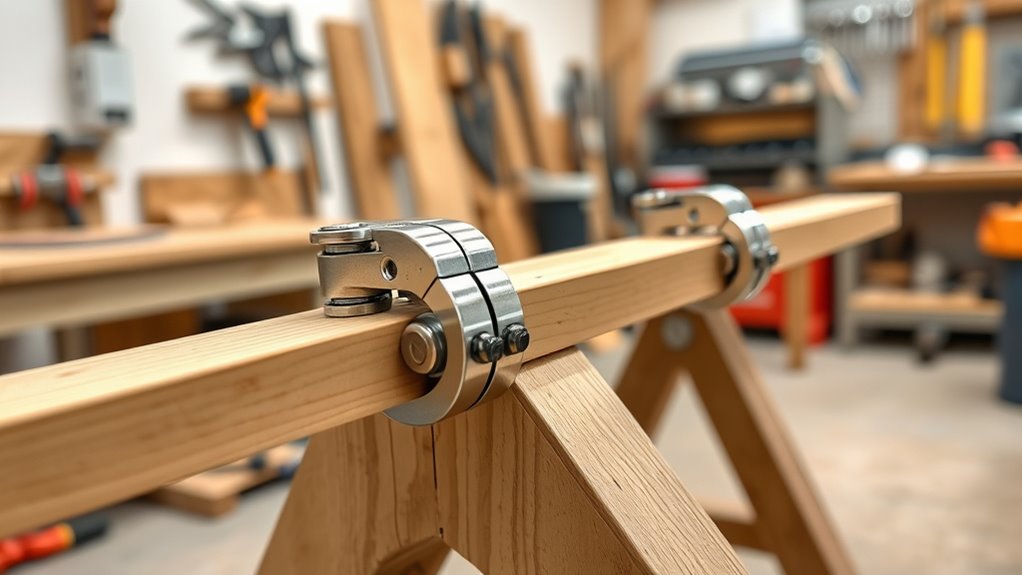
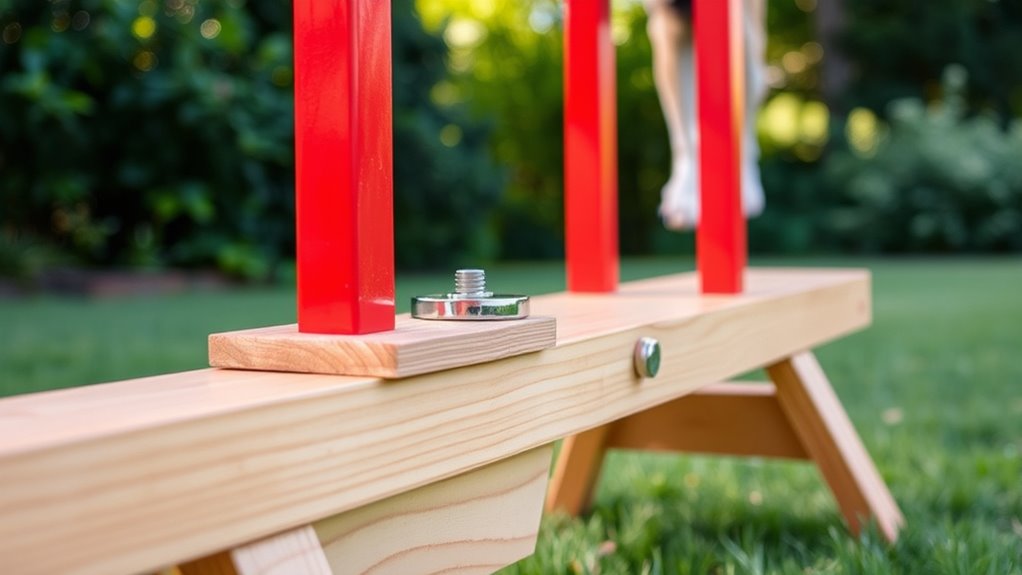
Securely attaching the pivot mechanism allows the see-saw to move smoothly and balance properly. To guarantee smooth movement, carefully position the pivot at the center of the plank, aligning it precisely with the support structure. Use high-quality hardware to secure the pivot, avoiding any wobbling or looseness. Consider the following tips:
- Select a durable pivot mechanism designed for heavy use
- Use washers and lock nuts to prevent loosening over time
- Ensure the pivot rotates freely without excessive play
- Attach the pivot securely to both the plank and the base
- Double-check alignment for balanced movement
- Regularly inspect the pivot for signs of wear or mechanical failure, ensuring continued safe operation.
Adding Non-Slip Surfaces to Ensure Traction

To keep your dog safe on the see-saw, choosing the right materials for traction is key. You’ll want to apply textured surfaces or grip tape securely to prevent slipping. Making sure these non-slip accessories stay firmly in place will give your dog confident footing during training.
Material Selection for Traction
Selecting the appropriate materials for traction is crucial to guarantee your dog can navigate the see-saw safely and confidently. You need to evaluate traction options that balance durability and grip, prioritizing safety considerations. Choose surfaces that prevent slipping, especially in wet conditions. Consider these options:
- Rubber mats with textured patterns
- Grip tape or anti-slip adhesive strips
- Coarse sandpaper or abrasive sheets
- Non-slip rubberized paint coatings
- Textured outdoor turf or artificial grass
Ensure the material you select adheres well to the wood and remains resilient over time. Safety considerations mean avoiding overly smooth or slick surfaces that could cause your dog to slip or lose confidence. Proper traction materials help maintain stability, reducing the risk of injury and encouraging your dog to confidently progress on the see-saw.
Textured Surface Application
Applying textured surfaces to your see-saw enhances traction and provides your dog with reliable footing. To guarantee optimal surface grip, choose materials that promote texture enhancement, like rubber mats or grip tape. These additions help prevent slipping, especially when the surface gets wet or muddy. For better surface grip, consider applying a non-slip coating or textured paint designed for outdoor use. This not only boosts safety but also improves your dog’s confidence during training. Use the following table to compare options:
| Material | Texture Enhancement | Surface Grip |
|---|---|---|
| Rubber mats | High | Excellent |
| Grip tape | Moderate | Good |
| Non-slip paint | Varies | Reliable |
Select the option that best fits your see-saw’s surface and your dog’s needs for maximum safety.
Securing Non-Slip Accessories
Securing non-slip accessories firmly to your see-saw is vital for guaranteeing consistent traction during use. Properly securing accessories like grip tape or rubber mats prevents slipping and keeps your dog safe. To achieve this, use reliable methods of securing accessories, such as strong adhesive, screws, or heavy-duty staples. Consider the following for ideal results:
- Use industrial-strength adhesive for rubber mats
- Attach grip tape with a pressure roller for even adhesion
- Secure rubber strips with screws or bolts
- Ensure edges are firmly pressed down
- Regularly inspect and re-secure as needed
Choosing the right non slip accessories and securing accessories properly will maintain traction, prevent accidents, and guarantee your dog’s safety during agility training. Proper securing techniques are essential for a durable, reliable see-saw.
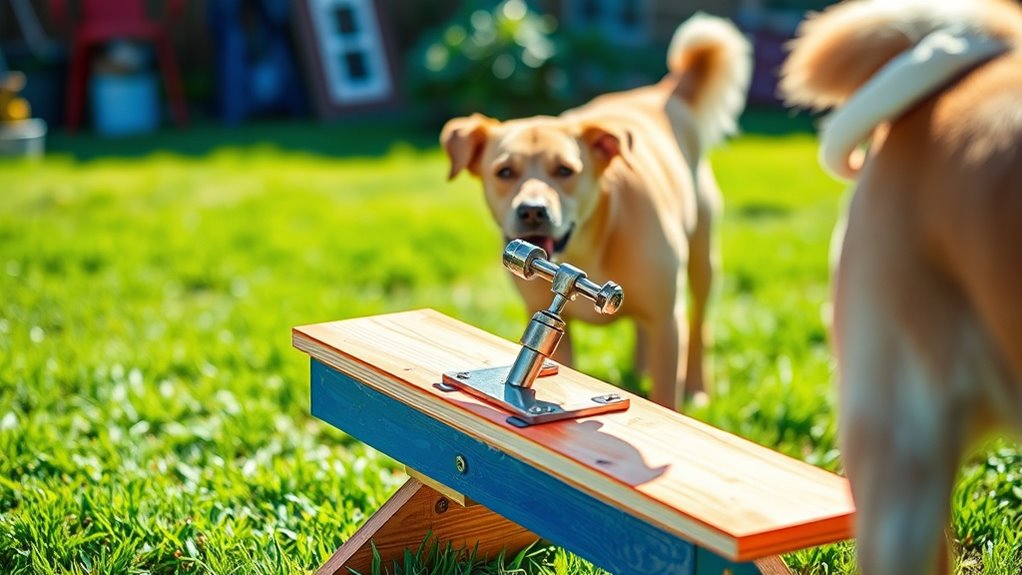
Securing the See-Saw to Prevent Tipping
To prevent the see-saw from tipping over during use, it’s essential to secure it firmly to the ground. Consider anchoring the base with stakes or heavy-duty brackets, which help stabilize the equipment during dog behavior and active movement. Regular equipment maintenance ensures that all fastenings remain tight and secure, reducing the risk of accidents. Check for any loosened bolts or worn-out materials before each session to keep the see-saw safe. Using weighted bases or sandbags can also add stability, especially on uneven surfaces. Remember, a stable see-saw not only keeps your dog safe but also encourages confident participation. Proper securing techniques are simple but crucial steps in creating a safe, reliable agility obstacle for your dog to enjoy.
Testing and Adjusting for Balance and Safety
Before your dog uses the see-saw, it’s important to test its balance and safety to guarantee a smooth experience. Start by gently applying pressure at different points to check for stability and identify any uneven spots. Perform balance testing by placing small weights along the length to see how it responds. Make safety adjustments by tightening loose screws or adding supports if needed. Keep an eye out for wobbling or shifting, which can compromise safety.
- Confirm the fulcrum is secure and level
- Adjust the pivot point if uneven
- Reinforce any weak joints or connections
- Ensure the surface is non-slip and smooth
- Test with light weight before allowing your dog to use it
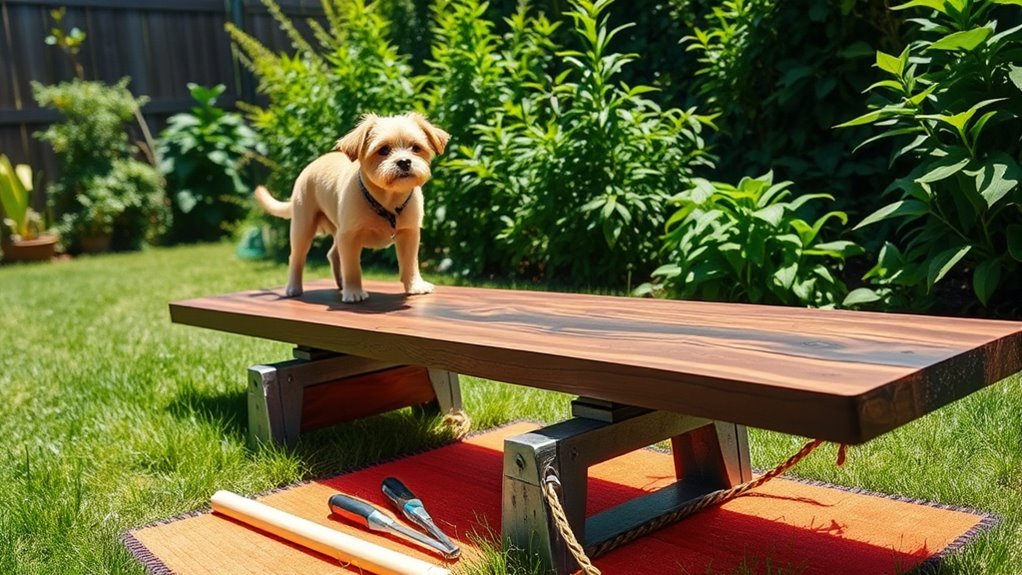
Tips for Introducing Your Dog to the New Equipment
When introducing your dog to the new see-saw, start by allowing them to observe it from a distance so they can become familiar with its appearance and movement. Let your dog watch as you gently move the see-saw back and forth, showing it’s safe and controlled. Use positive reinforcement, like treats or praise, to create a positive association. Keep initial sessions short and calm, gradually increasing exposure as your dog shows comfort. Focus on dog training techniques that build confidence and trust. Remember, patience is key—rushing can create fear or hesitation. If your goal is to participate in agility competitions, consistent, gentle introductions will help your dog develop the skills and confidence needed to navigate the see-saw smoothly during trials.
Frequently Asked Questions
How Can I Modify the See-Saw for Different Dog Sizes?
To modify your see-saw for different dog sizes, you need to adjust see saw weight and adapt it for dog height. For smaller dogs, use lighter materials or add weight to stabilize the see-saw. For taller or larger dogs, raise the fulcrum or extend the board to suit their height. Always test the adjustments to guarantee safety and comfort, making sure the see-saw moves smoothly for every size.
What Signs Indicate My Dog Is Uncomfortable or Unsafe on the See-Saw?
You should watch your dog’s body language closely for safety signals. Signs of discomfort include stiff posture, tail tucking, or avoiding the see-saw altogether. If your dog hesitates, shows signs of stress, or seems tense, it’s a clear indicator they feel unsafe. Always prioritize their safety by taking breaks, offering reassurance, and adjusting the see-saw if needed. Your attentiveness helps guarantee a positive, safe experience for your dog.
How Often Should I Inspect and Maintain the See-Saw for Safety?
You should perform regular inspections and follow a consistent schedule to guarantee safety. An inspection schedule of weekly checks is ideal, especially after heavy use or weather exposure. Look for loose bolts, splinters, or worn surfaces. Maintenance tips include tightening hardware, replacing damaged parts promptly, and cleaning the see-saw to prevent deterioration. Staying vigilant with routine inspections helps keep your dog safe and confident during agility exercises.
Can I Customize the See-Saw With Different Colors or Patterns?
You can definitely customize your see-saw with different color options and pattern ideas to match your training area or your dog’s personality. Using vibrant colors or fun patterns makes the equipment more visually appealing and engaging for your dog. Just make certain the paints or materials you choose are safe and non-toxic. Personalizing your see-saw not only adds style but also helps your dog become familiar with its unique setup.
Is It Necessary to Consult a Professional for Complex Modifications?
They say, “Better safe than sorry,” and that’s especially true for modifications to your dog’s agility equipment. You should definitely consider professional consultation for complex changes to guarantee safety standards are met. A professional can help assess your plans, prevent potential hazards, and guarantee the see-saw remains secure and fun. Don’t cut corners—safety is key, and expert input can make all the difference for your dog’s well-being.
Conclusion
Once you’ve built and tested your DIY dog see-saw, your pup will love the new challenge. For example, imagine Bella, a shy rescue, gaining confidence as she masters her first teeter-totter. With patience and positive reinforcement, your dog can enjoy safe, fun agility training at home. Just remember to start slow, watch for signs of comfort, and celebrate small successes. Before long, you’ll both be proud of your homemade agility course!