
To safely dig a crater in your yard, start by carefully planning your site to avoid underground utilities and roots. Use the right tools, like a shovel for small craters or a mini-excavator for larger ones, and always wear safety gear. Maintain the shape by digging straight down with slight inward slopes and keep water drainage in mind to prevent erosion or pooling. For more tips on finishing and blending your crater naturally, keep exploring this guide.
Key Takeaways
- Carefully select a safe location, avoiding underground utilities and foundations, using a utility locator if needed.
- Use appropriate tools like a shovel or mini-excavator, and wear safety gear such as gloves and sturdy footwear.
- Dig straight down to the desired depth, keeping sides level and slightly inward for a natural-looking crater.
- Plan for proper water drainage to prevent erosion, pooling, or runoff issues around the crater.
- Finish by smoothing edges, adding landscaping features, and ensuring the crater blends seamlessly with the surrounding yard.
If you’ve ever wondered how to create a unique landscape feature, digging craters in your yard can be an exciting project. Before you start, it’s important to plan carefully to avoid unintended damage and ensure your yard remains healthy. First, choose the right location. Pick an area that won’t interfere with underground utilities or your home’s foundation. Use a utility locator service if necessary to prevent hitting pipes or cables. Once you’ve identified a safe spot, mark the boundaries of your crater with stakes or spray paint. This helps keep your work precise and prevents accidental over-digging.
Carefully select a safe location, avoiding underground utilities and your home’s foundation.
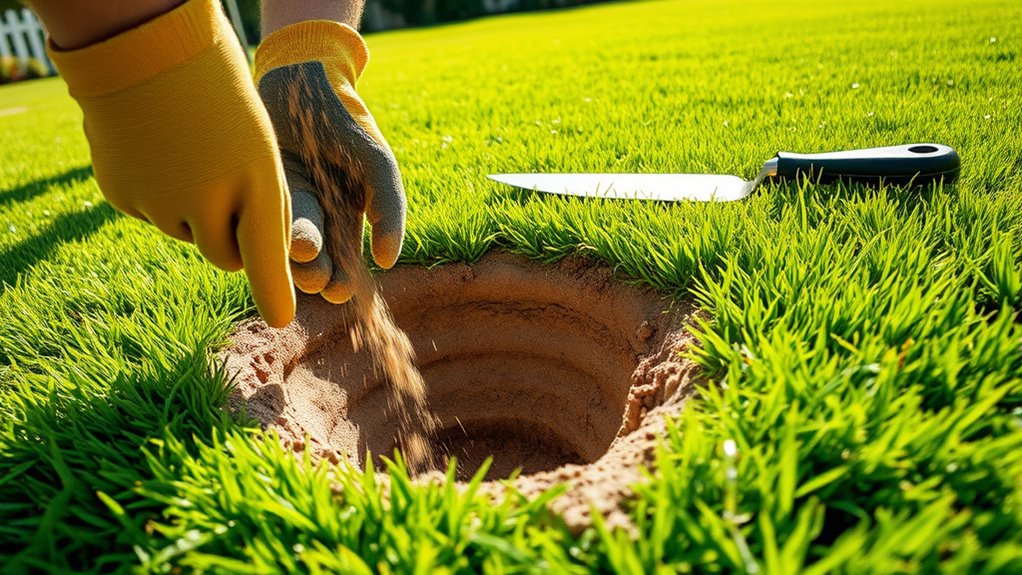
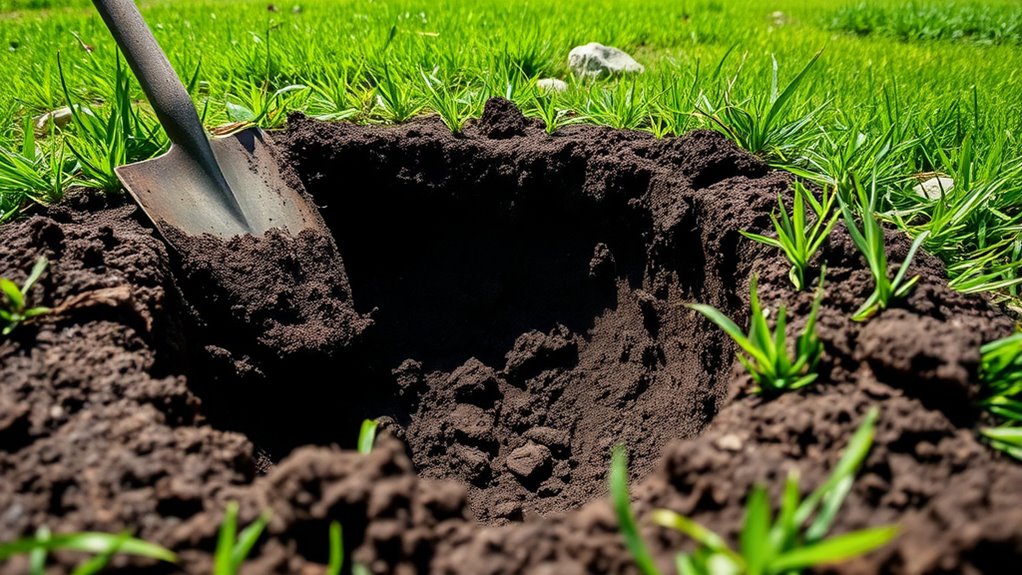
Next, you need the right tools. A sturdy shovel or a mini-excavator is ideal for larger craters, but a shovel works well for smaller projects. If you’re digging a deep crater, consider wearing gloves and sturdy footwear for safety and comfort. As you begin, start by removing the topsoil carefully, setting it aside if you plan to reuse it later for planting or filling. Dig straight down to your desired depth, keeping the sides as level as possible. If you want a more natural, rounded look, slightly slope the sides inward as you go deeper. Remember, the goal is to create a feature that looks intentional and blends into your yard’s landscape.
Be mindful of what you’re removing. If you hit roots, stones, or compacted soil, take your time to work around these obstacles. You don’t want to cause unnecessary damage or make your crater unstable. As you dig, periodically step back to assess your progress. If you notice the crater is becoming uneven or too wide, adjust your approach. Keep in mind that large craters can cause water runoff issues, so think about how water will flow through and around your feature. You might want to incorporate a drainage plan or add a small pond or water feature to enhance the look and functionality.
Once you’ve achieved the desired depth and shape, smooth out the edges and sides. You can fill the bottom with gravel or small stones if you’re planning to add a water feature or simply want a stable base. Replace the topsoil you set aside, or add a layer of mulch, grass seed, or decorative rocks to make the crater look intentional. Additionally, understanding proper drainage can help prevent erosion and water pooling in your crater. Remember, maintaining the health of your yard means not neglecting proper drainage and preventing erosion. With careful planning, safe digging, and thoughtful finishing touches, you can turn a simple hole into a striking landscape feature that adds character and interest to your yard.
Frequently Asked Questions
Can I Prevent Craters From Forming Naturally in My Yard?
You can prevent natural craters by maintaining proper drainage and avoiding compacting your soil. Regularly aerate your yard to loosen the soil, which helps water absorb evenly and reduces erosion. Plant deep-rooted grasses or ground cover to stabilize the soil and prevent it from shifting. Also, avoid walking on wet soil, as it causes compaction. Consistent maintenance and proper watering practices keep your yard stable and minimize crater formation.
What Materials Are Best for Filling and Restoring Cratered Areas?
Imagine your yard as a canvas, and you’re the artist restoring its beauty. For cratered areas, use a mix of topsoil and compost to fill the holes, blending well with surrounding soil. Firmly press the mixture down, then seed or sod over it. Water thoroughly. This combination provides nutrients, stability, and encourages grass growth, transforming rough patches into smooth, lush areas that seamlessly blend into your yard’s natural landscape.
How Long Does It Typically Take to Repair Cratered Ground?
It usually takes about a few days to a week to repair cratered ground, depending on the size of the area and weather conditions. You’ll want to clear debris, fill the holes with suitable soil or filler, and then compact the soil properly. Afterward, watering regularly helps the soil settle. Keep in mind, complete restoration might take longer if you need to reseed or repair grass, but the initial filling process is quick.
Are There Eco-Friendly Methods to Address Crater Damage?
Yes, you can use eco-friendly methods to fix crater damage. Opt for organic topsoil and compost to fill in the holes, promoting natural growth. You might also plant native grasses or ground cover to prevent erosion and restore your yard’s health. Avoid chemical fertilizers and pesticides, and consider aerating the soil gently. These environmentally conscious steps help repair your yard while protecting the local ecosystem.
Will Fixing Craters Affect My Yard’s Drainage System?
Addressing crater damage generally won’t harm your yard’s drainage if you approach it carefully. When you fill and level the affected area, make sure proper grading to direct water away from your home. Use eco-friendly materials like compost and natural soil to blend seamlessly. Avoid overfilling, which can create new drainage issues. With thoughtful repairs, you’ll restore your yard’s beauty while maintaining its natural drainage system effectively.
Conclusion
Now that you know how to fix those craters, your yard will go from a disaster zone to a lush paradise faster than you can say “landscaping miracle.” Imagine turning your once-barren, crater-ridden mess into a smooth, emerald wonderland so stunning that neighbors will think you hired a team of magic gardening elves. With these simple tricks, your yard will be the envy of the neighborhood—an unstoppable masterpiece that defies all odds!